
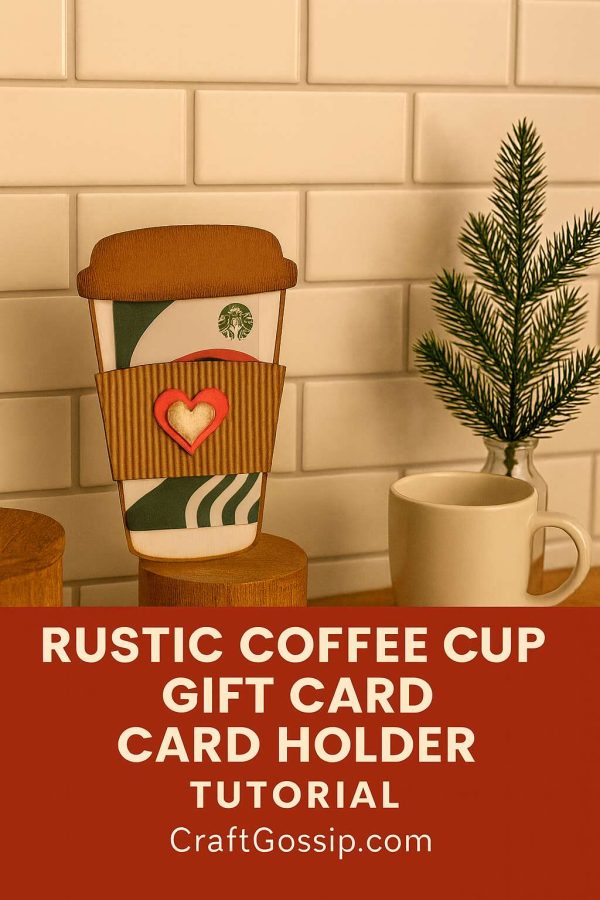
Perfect for Christmas mornings, birthday surprises, teacher appreciation, or just because, this handmade coffee cup card holder is more than just a gift—it’s a little bundle of joy. Designed to hold a coffee gift card or even a sachet of gourmet coffee, it’s a clever way to wrap up a thoughtful treat in something they can keep. Imagine the smile when they open it to find both a heartfelt greeting and the promise of their next favourite brew. Whether for a caffeine-loving friend, a busy mum who deserves a break, or a colleague who can’t start the day without their cup of joe, this crafty card holder turns a simple gift into a personal, memorable moment.
Supplies
- Brown cardstock (for cup lid and back panel)
- Patterned scrapbook paper (plaid, gingham, or festive patterns for the cup front)
- Corrugated paper or textured cardstock (for the coffee sleeve)
- Red and cream cardstock (for layered heart embellishment)
- Craft glue or double-sided tape
- Pencil
- Scissors or craft knife
- Coffee cup template (front and back shape)
- Hole punch or small circle punch (for gift card slots)
- Ruler
- Optional: Brown ink pad or brown acrylic paint for dry brushing edges
Instructions
Step 1 – Cut the Cup Pieces
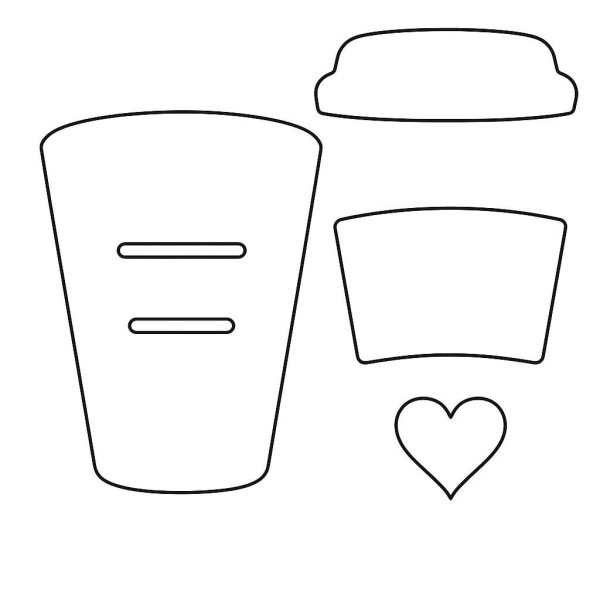
Using your coffee cup template, cut:
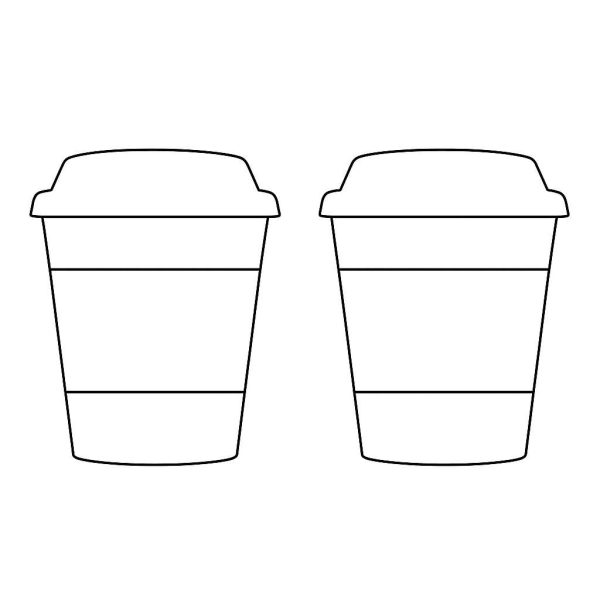
- 2 full coffee cup shapes from brown cardstock (one will be the back, one the front)
- 1 cup lid from brown cardstock
- 1 cup body from patterned scrapbook paper
- 1 coffee sleeve from corrugated paper
Step 2 – Create the Gift Card Slot
On one of the brown cardstock coffee cups (the inside piece), mark a rectangle slightly smaller than a standard gift card in the center.
Punch two small semicircles—one on each side—so the gift card can slide in and stay secure. You can use a hole punch and then cut straight lines to connect the holes, making a slot.
Step 3 – Assemble the Cup
- Glue the patterned paper onto the front cup shape.
- Attach the lid on top.
- Glue the corrugated sleeve in the middle, hiding the seam between paper and cup.
Step 4 – Turn it into a Card
- Place the two cup shapes together (front with the sleeve, back with the gift card slot facing inside).
- Apply glue only along the outer edges—do not glue the top closed! This makes it a pocket card.
- Let dry fully.
Step 5 – Add the Gift Card
Slide your gift card into the slot inside.
Write a message on the back or inside before gifting.
Step 6 – Rustic Touches
Lightly dry brush the edges with brown paint or ink for a warm, aged look.
Add your layered heart embellishment to the front sleeve for a sweet farmhouse style.
* This article was originally published here

No comments:
Post a Comment