
Every holiday season I like to bring out one or two new handmade décor pieces for the house. It’s not about spending a fortune on decorations but rather adding a personal, heartwarming touch. This year’s favorite? A decoupaged robin charger plate made from Dollar Tree finds. Whether you hang it as wall art, use it as a festive dinner charger, or place it in the center of your Christmas tablescape, this project adds that perfect cozy charm to your holiday setting.
Why Robins for Christmas Décor?
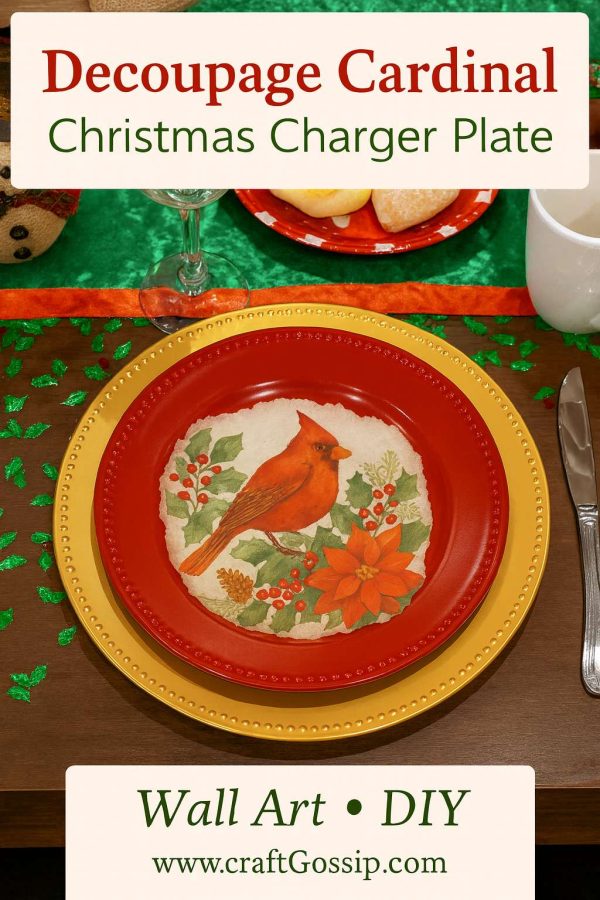
Robins (and cardinals, depending on where you live) are often linked with winter and Christmas. Their bright red feathers stand out beautifully against snowy backdrops and symbolize warmth, cheer, and even loved ones watching over us. Pairing the robin motif with poinsettias and holly brings in all the nostalgia and color of a traditional Christmas.
Materials You’ll Need
You only need a few basics for this project, and most can be found at the dollar store or craft stash you already have:
- 1 Red charger plate (plastic ones from Dollar Tree work perfectly)
- 1 Christmas napkin with a robin/cardinal design
- Mod Podge (matte or gloss)
- Foam brush or soft bristle brush
- Scissors
- Plastic wrap/cling film (to smooth wrinkles without tearing)
- Clear acrylic sealer spray (optional for durability if you’ll use it at the table)
Step-by-Step Tutorial
Step 1 – Prep Your Plate
Wipe down the charger plate with a damp cloth to remove dust and fingerprints. This ensures your napkin adheres smoothly.
Step 2 – Separate Napkin Layers
Napkins are usually 2–3 ply. Carefully peel away the white backing layers until you’re left with just the printed robin layer. This thinner layer blends beautifully when decoupaged.
Step 3 – Create Torn Edges
Instead of cutting, gently tear around the robin and poinsettia design. Torn edges help the napkin blend more naturally into the plate, giving that charming “soft edge” effect instead of harsh cut lines.
Step 4 – Apply Mod Podge
Brush a thin coat of Mod Podge onto the center of the charger where the design will sit. Work quickly but evenly.
Step 5 – Place the Napkin
Lay the napkin down gently, starting at one edge and smoothing as you go. Place cling wrap on top, then use your fingers to gently press out wrinkles and bubbles without ripping the delicate napkin.
Step 6 – Seal the Design
Brush another coat of Mod Podge over the top of the napkin, working from the center outwards. Allow to dry completely, then apply a second coat for protection.
Step 7 – Optional Protective Seal
If you’ll be using your charger plate at the dinner table, spray with a clear acrylic sealer to protect it from spills and stains. (Remember, these are decorative only—don’t serve food directly on them.)
* This article was originally published here


No comments:
Post a Comment